- Đăng ký freeDNS và thiết lập DNS cho tên miền
Các bạn thực hiện đăng kí mua tên miền trước hoặc vào dùng subdomain miễn phí.
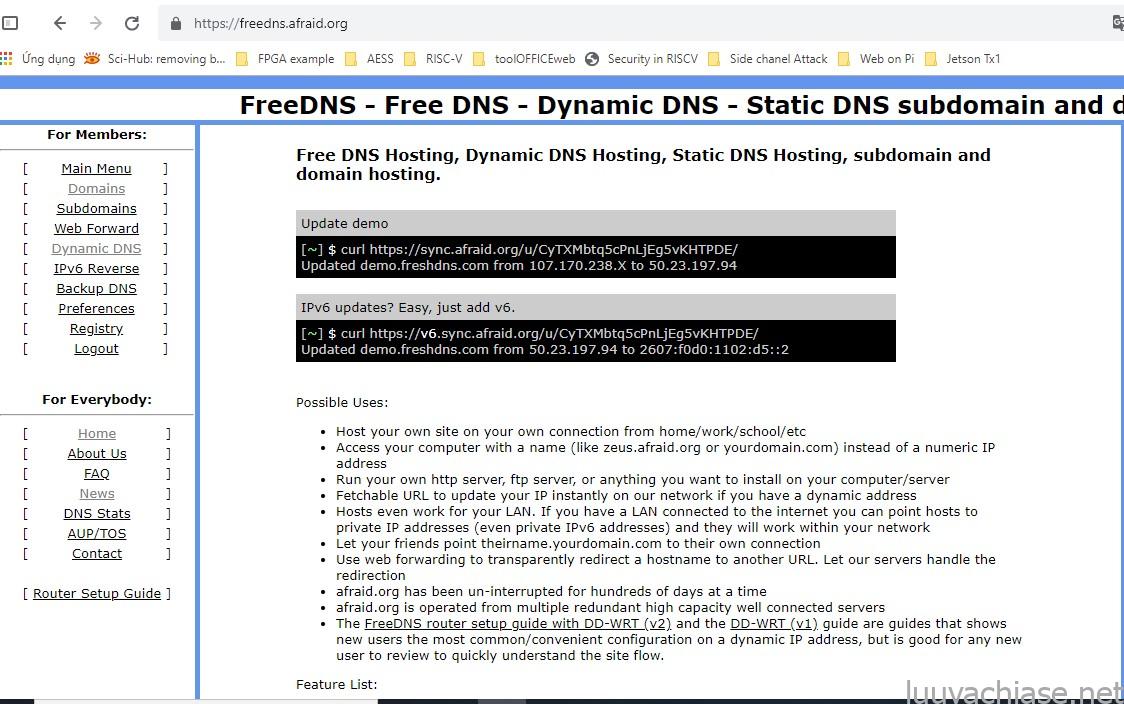
Vào trang sau để đk tài khoản freeDNS
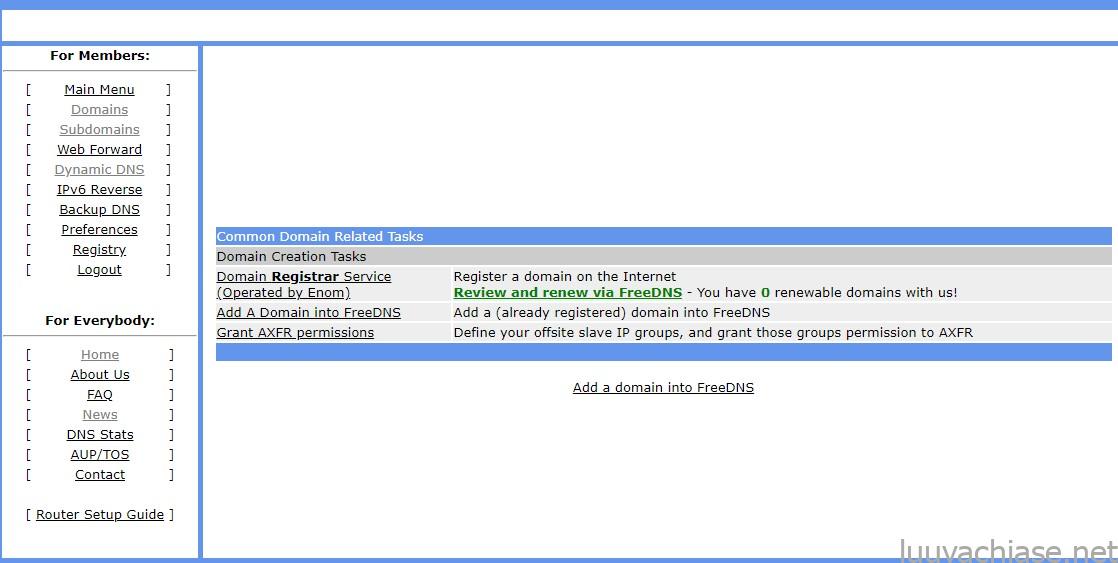
+ Nếu dùng domain riêng đã đăng kí,
Chọn vào add ad domain into FreeDNS, điền tên domain đã có và chọn Submit
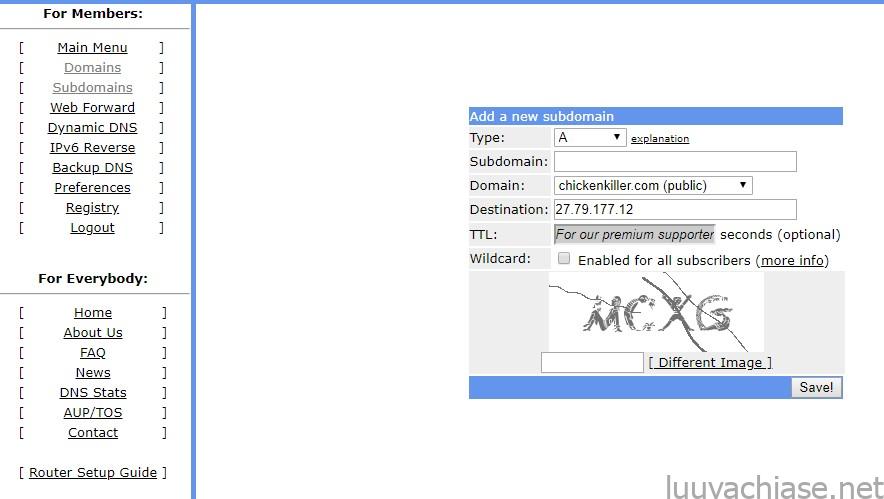
Điền tên miền đã đăng kí và chọn Shared State: Nếu chọn public tên miền của các bạn sẽ được sử dụng free cho người khác tạo domain, còn private thì có thể kiểm soát và cho phép những subdomain mình muốn. Nếu không muốn share thì nâng cấp lên premium.

Đăng nhập vào nơi chúng ta mua tên miền, cập nhật lại nameserver:
NS1.AFRAID.ORG
NS2.AFRAID.ORG
NS3.AFRAID.ORG
NS4.AFRAID.ORG

+ Nếu người dùng chọn subdomain miễn phí
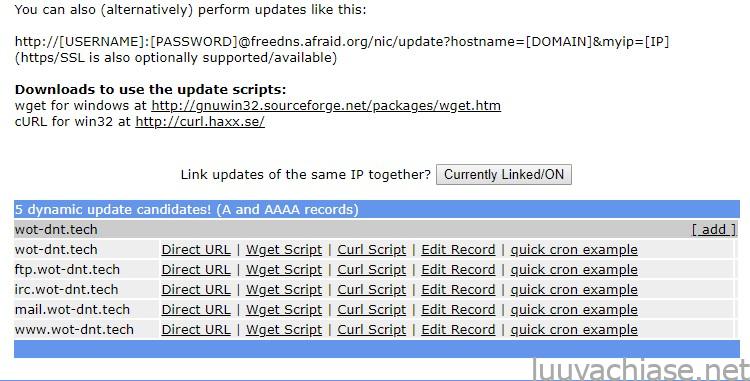
Chọn vào Dyamic DNS sẽ thấy được kết quả như sau
- Cấu hình dịch vụ Dynamic DNS trên Raspberry
sudo apt-get install inadyn
Sau khi cài đặt xong, thực hiện chỉnh sửa cấu hình inadyn qua lệnh:
sudo nano /etc/inadyn.conf
Nội dung file inadyn.conf như dưới đây:
|
1 2 3 4 5 6 7 8 9 10 11 12 13 14 15 16 17 18 19 20 21 22 23 24 25 26 |
<span style="font-family: tahoma, arial, helvetica, sans-serif; font-size: 12pt;">#/etc/inadyn.conf # Output messages to this file logfile /var/log/inadyn/inadyn.log # Or use the system syslog mechanism for log messages # syslog # The log debug level, which is an integer between 0 to 5 verbose 1 # How often the IP is checked. The value denotes seconds period 300 # Set interface to bind to # bind eth3 # Set interface to check for IP # iface eth1 # Full path to external command, or script, to run after a successful DDNS update # exec /usr/local/bin/script.sh # Please edit following options before starting daemon # Service provider # Please see inadyn(8) for a complete list of providers system default@freedns.afraid.org # Your username đã đăng kí trên freeDNS username xxxxxxxxxxxxx # Your password đã đăng kí trên freeDNS password xxxxxxxxxx # Your hostname. This option can appear multiple times alias ten_mien_cua_ban </span> |
- Thiết lập Dynamic DNS tự động chạy khi khởi động Raspberry
Tiếp theo muốn tự khởi động freeDNS mỗi khi máy bạn reboot. Chạy lệnh sau:
export EDITOR=gedit && sudo crontab -e
Thêm dòng dưới dây vào và save lại:
@reboot /usr/sbin/inadyn
Đến đây là xong phần việc cho DNS trên Pi, việc tiếp theo là cấu hình modem, mở Port cho truy cập Pi từ xa- Phần 3 dưới đây.
Xây dựng một Website cá nhân với Raspberry Pi và WordPress- Phần 3


Comments 2